Showing posts with label recipes. Show all posts

Tuesday, December 10, 2013

7 Can Soup

Today it is snowing. The first big snow of the season! We are expected to get 3-5 inches by the afternoon!  What goes best with cold, snowy days? 


So I thought I'd share with you my 7 can Soup.  I think i got the original recipe from my grad school roommate and best friend, LeAnn but I think its adapted over the years. To be honest, I'm just not sure.  

Its called 7 can soup because it involves 7 cans.  If you are an all natural, no processed foods person, this is not recipe for you or you can definitely substitute.


1 Can of red kidney beans, drained and rinsed
1 can of black beans, drained and rinsed
1 can of garbanzo beans, drained and rinsed
1 can of mixed veggies
1 can of diced tomatoes 
2 cans of chunky soup
Broth (chicken or veggie)
1 onion, chopped
2 cloves of garlic
Cheddar Cheese


Drain and rinse the beans.  You can use the juice it comes in but I am pretty sure its high in not awesome things so I usually rinse the beans and substitute later for any lost liquids.

Add all cans to a crock pot or stock pot.  A crock pot will take longer but you can set it and forget it. A stock pot will cut the time significantly but you'll want to stir it occasionally.


Chop up the onion into either large or small chunks.  Slice up the garlic and add both to the soup.


Add some chicken or vegetable stock/broth to the soup. I typically add 1-2 cups but you can add as much or as little as you prefer.  I also use low sodium when possible but its really up to your preferences.


I typically set my crock pot to 3-4 hours on low.  


 When the soup is done, grate up some cheddar cheese.  Add cheese and a handful of corn ships to a served up bowl of soup.  


Enjoy! Its a great recipe for a group of people or can be frozen and saved for a rainy/cold day!


Thursday, November 28, 2013

Thanksgiving Sweet Potato Bake


A few years ago one of my British interns gave me this recipe.  I have since ruined blessed many people with this yummy side dish.   I lovingly refer to it as Sweet Potato Crack.  The 3 layer combination makes for a yummy in my tummy explosion.  I never think to take pictures when i am making it so this year I made sure I was prepared.

This year, we are spending our Thanksgiving with some friends of ours. They wanted to make the sides and asked us to make the turkey. This meant that I wasn't going to be able to make my Sweet Potato Bake so instead I made it the day before for my roommate and I to gorge on for days to come. We even had it for Thanksgiving day breakfast. 

I am not kidding this stuff is amazing. The main reason I am posting it is because people keep asking for the recipe.   Are you ready, cause here we go.  
3 large sweet potatoes
  • 1 cup of sugar
  • 1 stick of butter at room temperature
  • 1 tsp of vanilla extract
  • 2 eggs
  • **Crumb topping**
  • 1/3 cup of flour
  • 1/3 cup softened butter
  • 1/2 cup of oatmeal
  • 1 cup of brown sugar
  • 2 tablespoons of cinnamon
  • 2 cups of marshmallows


Boil potatoes until they are soft in the center. You can cut them in halves or quarters to make them cook faster but cooking them whole is fine too. 


When fully cooked, strain and let them cool off. Once they are cooled off, peel them and use a large bowl with a mixer. (if u don't have an electric mixer use a hand mixer).


Add the butter, sugar, & vanilla. 


Add the eggs one at a time. The potatoes are hot and u don't want the eggs to scramble on you. 

Add a teaspoon of cinnamon or more (I love cinnamon) 


And mix it well til the consistency is thick w texture. Its ok if its lumpy.


Transfer potatoes to a greased baking dish and smooth it out.

Now its time for LAYER #2, the Crumb Topping!!!!


In a mixer, place the flour, brown sugar, cinnamon, oatmeal and mix together with a spoon or spatula. 


Then add the softened butter.  The original recipe called for chopped pecans. if you want to add those, then add them now.


Mix well until it looks like small peas. This should be crumbly and feel sandy like.


Place crumb topping over potatoes and bake at 350 for 30 mins.


Remove from the oven and add the marshmallows on top and bake again for 10 more minutes or until marshmallows are slightly browned.


I hope you enjoy! Have a HAPPY THANKSGIVING!


Tuesday, February 12, 2013

Evolution of my Little Blog

I was just thinking about the evolution of my blog.  At various stages of its life, this blog has had very different focuses...foci...

When I first started blogging, it was honestly as a stepping stone to letting the world know I liked to write.  I blogged mostly about what God was teaching me and the creative side of life.


These posts were written on my original blog. One that no one knew about.  I was writing "publicly" but the public had no idea.

Then my blog became about a new start. A new career, a new blog, a new focus.


Then beginning with this post a whole new focus for my blog emerged.  I started writing about my love for cooking and photography.  I was reading a lot of Pioneer Woman at the time and loved what she did with her blog so I started going down that road.  I think it was the real beginning of my blog.


I mixed in some true Kim with some honest posts about where I was at but it was mostly about my food.  It got to the point that all my friends called it a food blog. To this day people still call it a food blog. ITS NOT A FOOD BLOG.  

Somewhere along the way, it just got to be about life.  What I loved, liked, wished for.  


In all of this, i was randomly writing reflective posts on what I was learning in the midst of life


I even began using my blog to be the main advertiser of my growing Etsy Shop.


The late spring of this last year I started getting more involved in the blogging world. Joining link ups, entering giveaways, etc.  My blog changed almost drastically. In some ways it was great. I was getting exposure. I was seeing other writing styles, other ways of expressing yourself but i was also getting more readers.  


I went from 30 something followers to the 200s in a matter of weeks.  

I even got to the point of taking on advertisers & sponsors.  Many days my blog was about the giveaways and the sponsors.  I found it hard to keep up with it and started to lose my voice as a writer.

Once the high of the growth dwindled down, I started reflecting more on who I was as a writer, a blogger, a friend. I am still reflecting on who that is. I am still trying to find out who I am and where I want my blog, my writing to go.  What I love about the blogging community is that I can take my time to figure it out and I don't have to be boxed in to one specific style. My followers will change. My focus will change and that's ok.

How has your blog evolved? Have you found your own niche?  Are still trying to find your voice?


Friday, October 12, 2012

Brie, Apple, & Arugula Quesadilla

I got a few Instagram and twitter comments on the quesadillas I made earlier this week.  So I thought I'd post the recipe.

I got the recipe from MyRecipe.com.  I only made slight changes to the recipe so they should get 98% of the credit.  I am posting the original recipe below but then adding my changes.  If you don't like lots of kick then you'll want to look at my adjustments. 

This recipe was so good and its vegetarian for those who care!


Original Recipe

  • 1 tablespoon Dijon mustard
  • 2 teaspoons apple cider
  • 3 (10-inch) flour tortillas
  • 6 ounces Brie cheese, rind removed and cut into 1/4-inch-thick slices, divided
  • 1 Fuji apple, cored and cut into 1/4-inch-thick slices (about 1/2 pound), divided
  • 3 cups arugula, divided
  • 3/4 teaspoon freshly ground black pepper, divided
Original Directions
  1. Combine mustard and cider in a small bowl; stir well.
  2. Heat a large nonstick skillet over medium heat. Spread each tortilla with about 1 1/2 teaspoons mustard mixture. Place 1 tortilla, mustard side up, in pan. Arrange one-third of cheese slices over half of tortilla; cook 1 minute or until cheese begins to melt. Arrange one-third of apple slices over cheese; top with 1 cup arugula. Sprinkle with 1/4 teaspoon pepper. Fold tortilla in half; press gently with a spatula. Cook 2 minutes on each side or until golden brown. Remove from pan. Repeat procedure twice with remaining 2 tortillas, cheese, apple slices, 2 cups arugula, and 1/2 teaspoon pepper. Cut each quesadilla into 4 wedges.

My Changes:
The mustard mixture was extremely spicy. My roommate thought it was horshraddish sauce.  So, we recommend some adjustments.  

Option 1) Instead of dry mustard, use a prepared mustard.  I would recommend a dijon or a honey mustard.  Add the cider to your liking.  You want it a little thick so you can spread it on and not get your tortilla soggy.

Option 2) What we did instead.  When adding the original mixture, only add about 1/2 teaspoon at a time, spreading it super thin and evenly.  It was so thin you could barely tell it was on there. THis way we got some of the kick but not the bite!

Also, we didn't use Fuji and eliminated the pepper.  We used Macs that we picked at the farm last weekend.  

Enjoy! I'd love to hear back how yours turned out and any changes you made!

Have a great weekend everyone!


------------------------------------------- 
{Post Sponsored by This Lovely}

Tuesday, October 9, 2012

Its Raining Apples

This Sunday, I went apple picking with my church upstate.  Apple Picking is one of my most favorite events of the year. It was a tad rushed this year due to my needing to be at work at 3pm but I still had a blast and got lots of apples.  I would have gotten more but my budget and arms couldn't take much more.


 I took pictures with my real camera.  Maybe I will share those tomorrow!  

Anyway, so I have been struggling with what to make with my apples this year. Last year I did a series called "Apple A Day".   Over the course of a few weeks, I tried several apple recipes:  Apple Pie Cheesecake, Apple Pie Muffins, Apple Pie Bites, etc.  So this year I wanted to try different things but what to make?  Yesterday, I planned to make apple cider and/or Apple butter but had some other things come up so didn't end up doing those.  

Although, I did make one thing using the apples yesterday.  We made these Apple, Brie & Arugula quesadillas.  OMG.  they were so amazing.  I found some recipes yesterday that I think I am going to try and this was one of them.  Maybe I will make it again soon and will take better pictures.  


So, all this to say... What should I try this year?  I really want to make cider and apple butter.  Any good cider recipes out there? Also, anyone know how to make hard cider?  Is it complicated?  Really want to make Hard Apple Cider!  

Thanks for stopping by!  I hope you have a lovely fall day!


------------------------------------------- 
{Post Sponsored by This Lovely}

Sunday, August 5, 2012

SANGRIA, Sangria, sangria

So, I am not often outwardly proud of anything I create or do except for my Sangria.  I am not only proud of it, I am pretty much a Sangria snob.  I often refuse to order Sangria at a restaurant because I know it won't be as good as mine.  If its given to me, ok. But I won't pay for it.  


A few years ago, some friends introduced me to Calle Ocho.  It's a restaurant in town that has free unlimited Sangria with your brunch entree.  Now, if it's free, you assume its going to be low-effort, right? Nope. It's phenomenal.  There is one that I love called the Spanish Harlem.  It's a red Sangria with big chunks of strawberries, blueberries, and other berries. It also has a cinnamon stick or two in it.  After looking at it for a while, I thought I'd try and make it. 

I did, and I have never looked back. Its a hot ticket at church picnics, thanksgiving dinners, etc.  I have been wanting to share the recipe with you for a long time but I haven't made it in a while until recently.  I made it Friday night for some friends and thought "Here is my opportunity to share the Love."  

* Disclaimer #1 - It must be prepared atleast 12 hours ahead, preferably 18-24.  Trust Me.
** Disclaimer #2 - Once its marinated for more then 12 hours, the alcohol taste will be minimal.  Which means be careful how much you drink.  Its really easy to over do it.

I hope you enjoy!

Red Sangria
What you need:
Fruit: 2-3 cups Berries
Alcohol: 1/2-1 cup brandy, rum, or sweet bourbon
(1) .75 liter Red Wine
(1) 8oz-10oz bottle of juice
1-2 small-medium cinnamon sticks
1 pitcher


I typically use berries in this sangria.  It can be to your taste.  I prefer strawberries, blueberries and raspberries.  You can also use apples.  I sometimes use 1/2-1 bag of frozen berries you can get at grocery stores.  The fruit won't look as pretty but the juices will mingle a little better.  


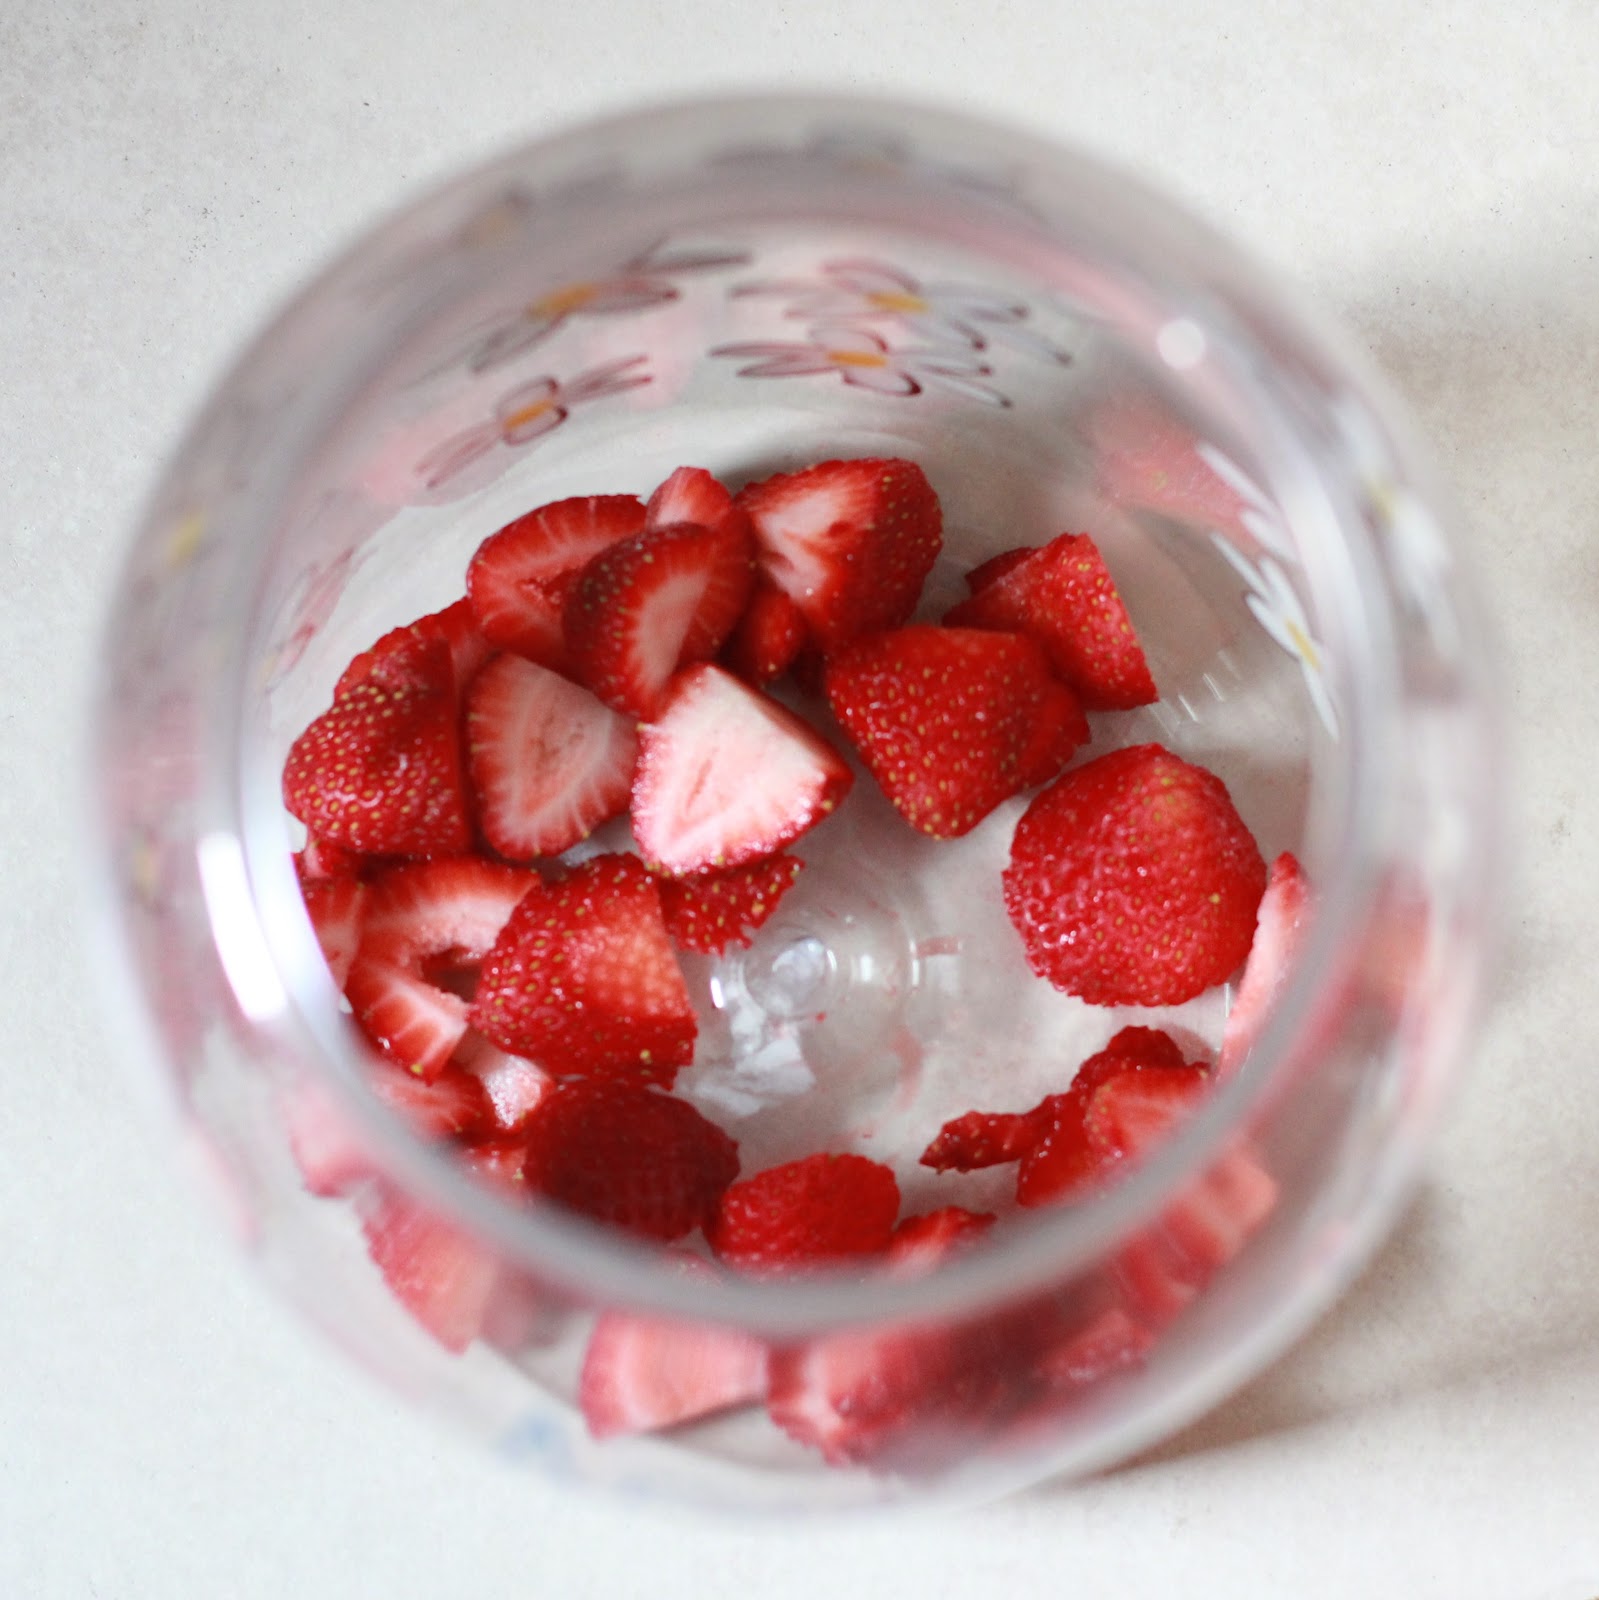
Cut the strawberries into smaller pieces.  Its up to you how small or big they are. The bigger they are, the more alcohol they will absorb and the sweeter your sangria will be.  


Then you'll add the harder liquor.  I like to use brandy or this honey bourbon (Sweet Lucy).  I've used flavored brandy before and it was yummy.  Add about 1/2 - 1 cup.  You don't necessarily need to cover the fruit but fill it 3/4 of the way on the fruit.


The key to my Sangria is the cinnamon stick.  I put 2 small to medium sized sticks in but if you aren't sure about the cinnamon then just add one the first time.  


I let the bourbon sit for 2-3 hours in the fruit before going to the next step.  


Next you'll add the wine.  After you let it sit in the bourbon (or whatever you used), you'll add the wine.  I suggest you buy a cheap bottle of wine.  It DOES NOT need to be quality wine.  I prefer to use a drier wine.  If it sits for 12-24 hours, it will definitely sweeten up.  If you like a really sweet sangria then you can use a sweet red but using a dry wine will still turn out pretty sweet.  


You'll then let this sit in the refrigerator for another 8-10 hours.  Depending on when you started the wine.  If you make it the night before, then let it sit over night.  If same day, make sure it sits for at least 8 hours.  The longer you let it sit, the more the fruit will absorb the alcohol and the sweeter it will become.  


The very last step is to add a bottle/can of fruit juice. I prefer a comparable flavor like this Watermelon Strawberry.  I usually won't add this until right before I serve the Sangria.  


This is my Sangria.  The more fruit you use the better as it will absorb more of the alcohol and the sweeter the drink will be. Also, the more fruit per glass you'll have.  Now, please remember that the fruit has now absorbed a lot of the alcohol so be careful as you munch on it.  You can inadvertently get drunk on the fruit alone.  This drink can be dangerous.  You won't realize what you are doing until you feel the buzz.  So DRINK RESPONSIBLY!

I hope you enjoy.  If you try it, please come back and let me know what you thought or how you changed it up.

I also make a mean White Sangria.  That might take me a while to post.  Email me if you want that recipe.

Have a Lovely Sunday


------------------------------------------- 
{Post Sponsored by This Lovely}
Related Posts Plugin for WordPress, Blogger...